

Welcome to The FO&O a place where facts and opinions collide as we discus all matters of photography, travel, and the everyday struggles we face as creatives. The obvious is always allowed here for what is common knowledge to you may be uncommon to others. Feel free to ask questions and challenge theories as we push ourselves beyond our limits in our quest for more

SHOOTING AT NIGHT
Must know night photography tips
Have you ever went out at night to take a few photos and then once you got back home you realized all your images are blurry, grainy or both? If so here are a few tips just for you. Remember this place is where we share our thoughts and experiences in order to gain a deeper understanding in the world of photography. With that being said lets get started
NIGHT GLOW
1. FIND THE LIGHT
Don’t worry this also applies to those who only use their phones. As a photographer weren’t always granted the best lighting scenarios and this is especially true for street photographers who prefer to shoot at night. A good way to deal with this is by seeking out light. It can be street lights, neon signs, or even car lights. Just remember light is the life of photography and your use of it can make and break an image. You can also get creative for example let’s say you don’t have the advantage of a traditional lighting setup like a strobe or continuous LED. There are still many option for portable LED lights that can fit right in your pocket.

MIDNIGHT TRAIN
Here is an example of finding the light in a dark situation. Not only does the light help illuminate our subject but the choice of the lighting scenario allows for great story telling.
2. USE FASTER LENSES
It goes without saying that using faster lenses that allow aperture’s like F1.8 - F1.2 can really be advantages when shooting at night. You typically find these aperture’s in prime lenses which also comes with a bonus because they’re typically small and allow you to move around better with a lite weight lens. These apertures allow for faster shutter speeds and lower ISO’s. This is because they allow more light into your camera and all these things help you eliminate unwanted results in your images.
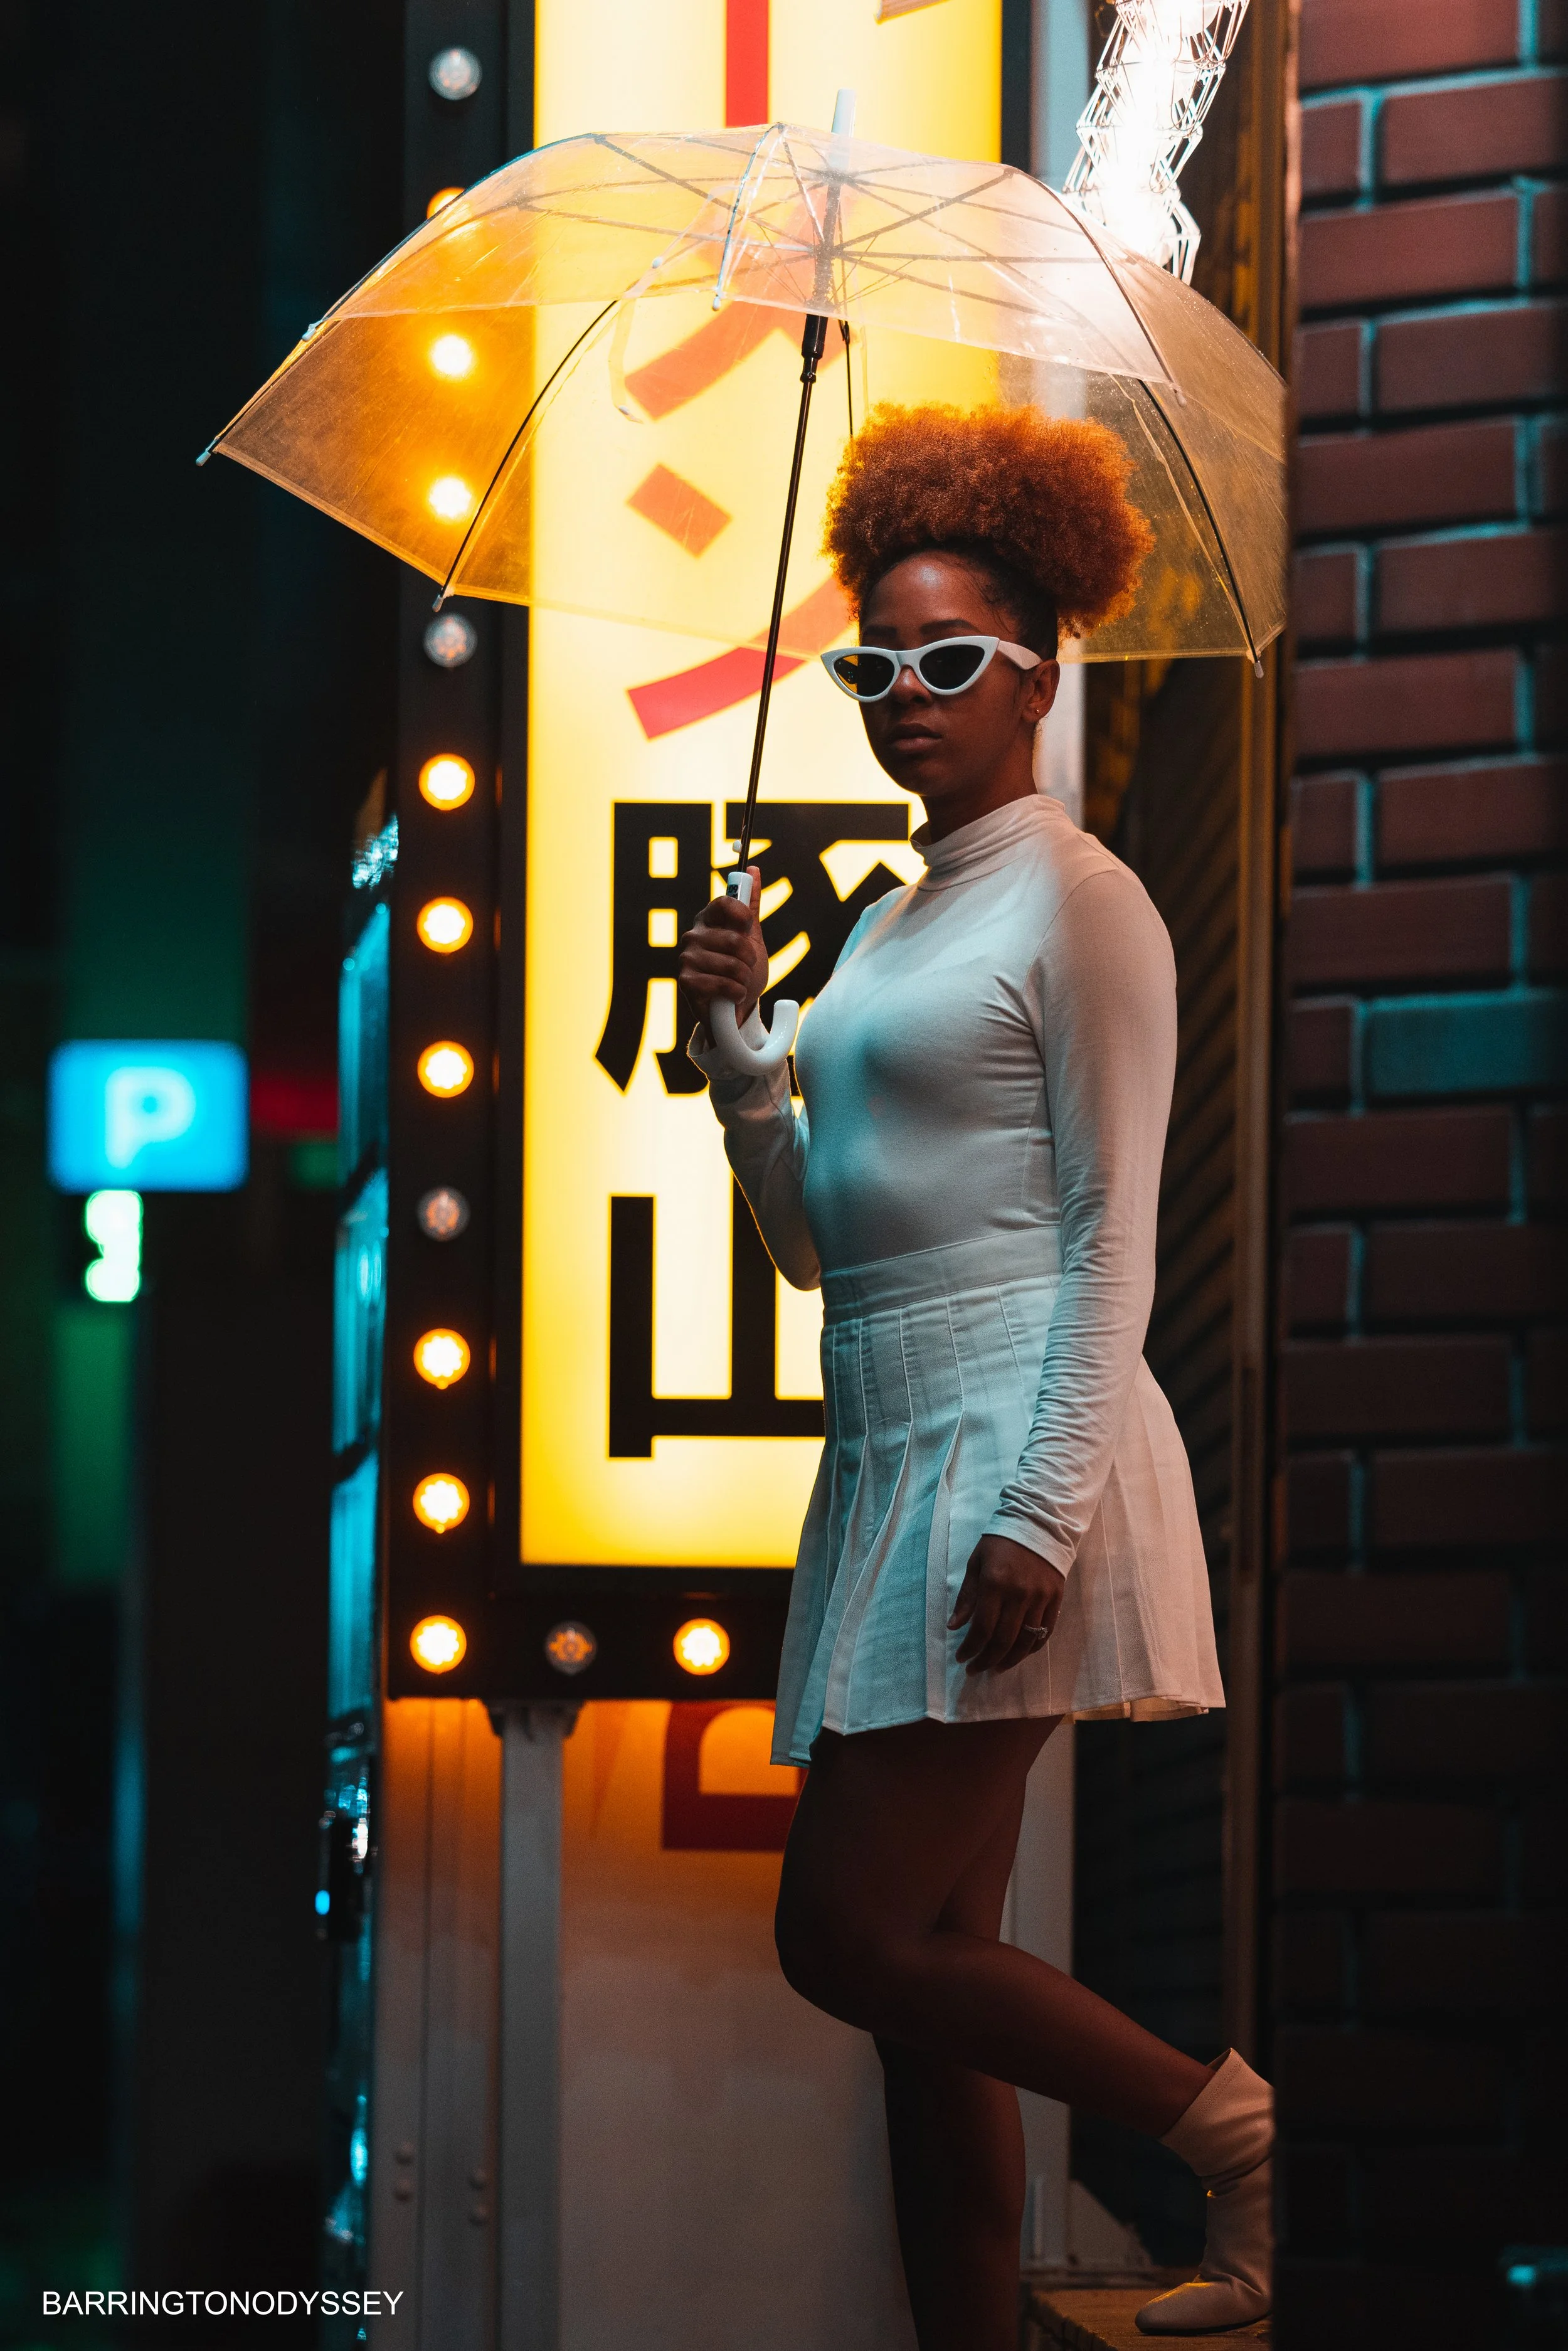
RAMEN DATE NIGHTS
This image is an example of the benefits of using faster lenses. Allowing us to capture our subject in motion. You probably can’t believe that she is moving.
3. TRIPOD & REMOTE
Now obviously everyone isn’t walking the city with a tripod let alone a camera remote but perhaps you should. Without even mentioning the creative possibilities you have using this combination let me just mention the obvious advantage and that is stability. You see when you take photos at night or even just low light you are typically going to be using slower shutter speeds. This means that you are more likely to get blurry images or simply put images that aren’t as sharp because humans have a tendency to move even when you think you’re standing perfectly still. This is especially the case when trying to capture light paintings and light trails from traffic for example.
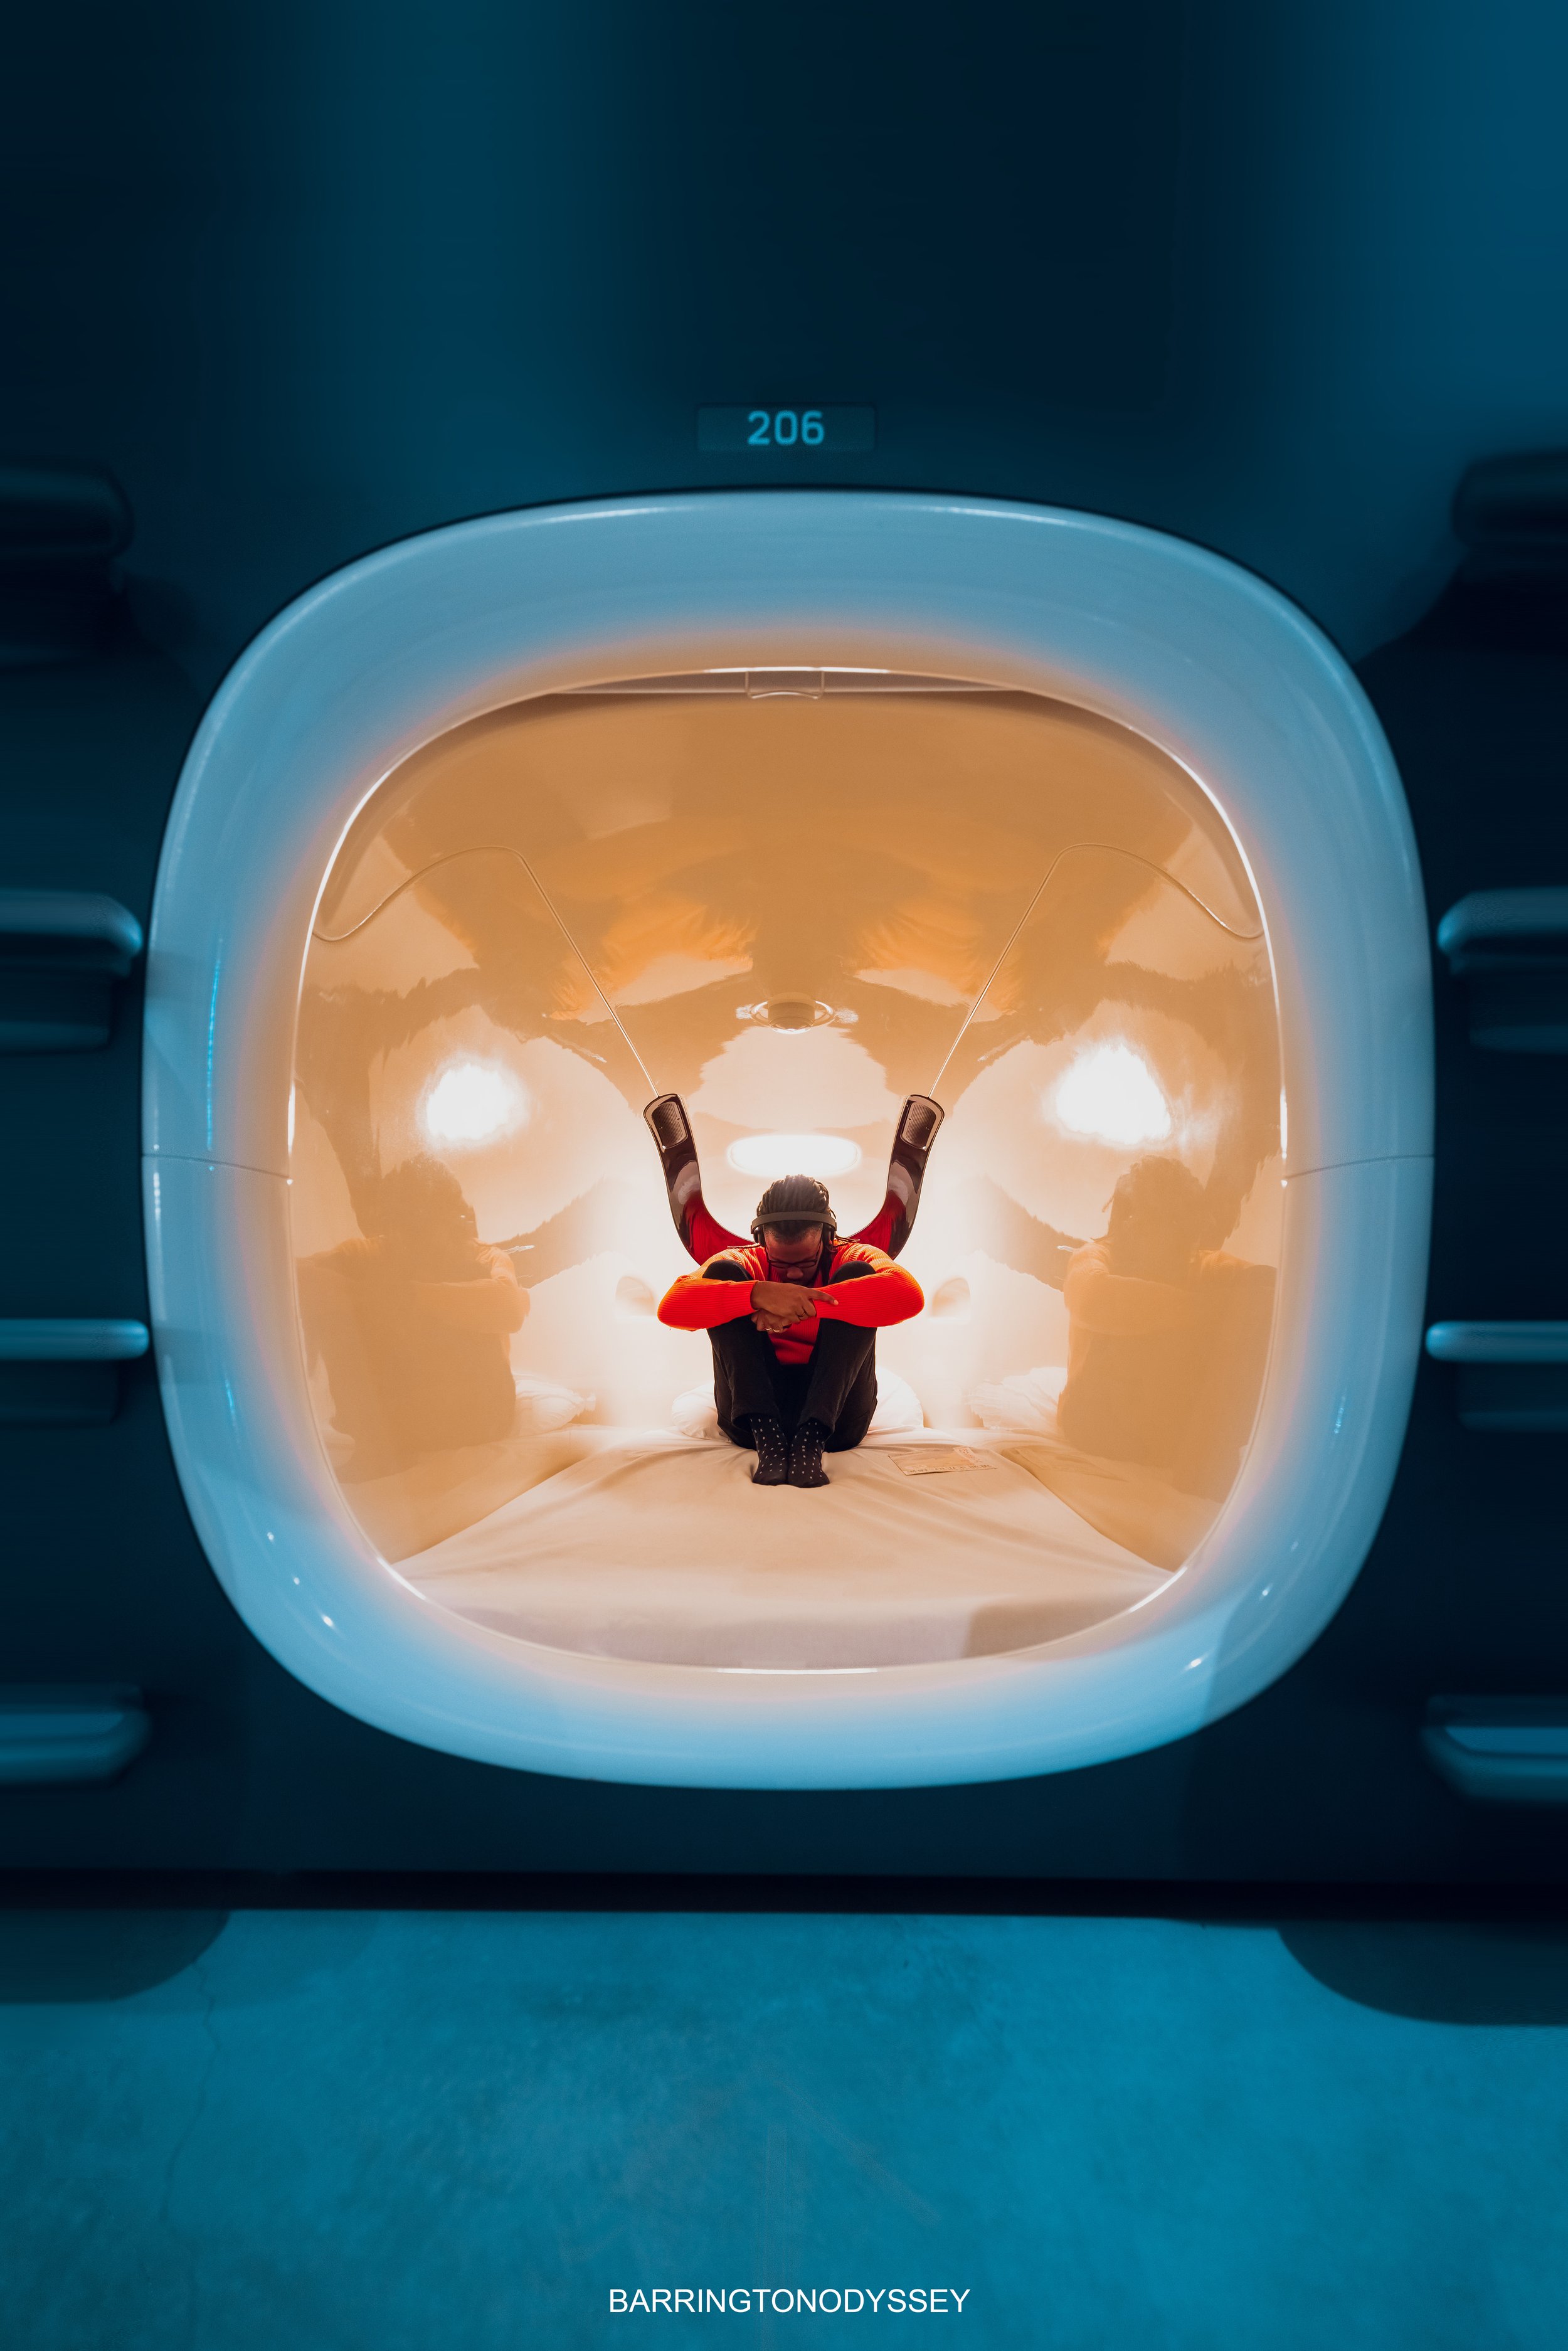
OUT OF TOUCH
This image is perfect example of why tripods are important. This is a relatively dark room. Through the use slow shutter speeds I was able to lower my ISO’s and raise my aperture to achieve great results. This was only possible because of my use of a tripod and a camera remote.

RAINBOW CORNER
Here is another example of using a tripod to your advantage to achieve achieve sharp images at night. Here I was able to raise my aperture decrease my shutter speed and lower my ISO substantially.
That wraps things up for my “SHOOTING AT NIGHT” for creatives. If this was helpful please let me know in the comment section and of course if you have any questions or suggestions feel free to share them below. Thanks for reading and I’ll see you next time on The FO&O.
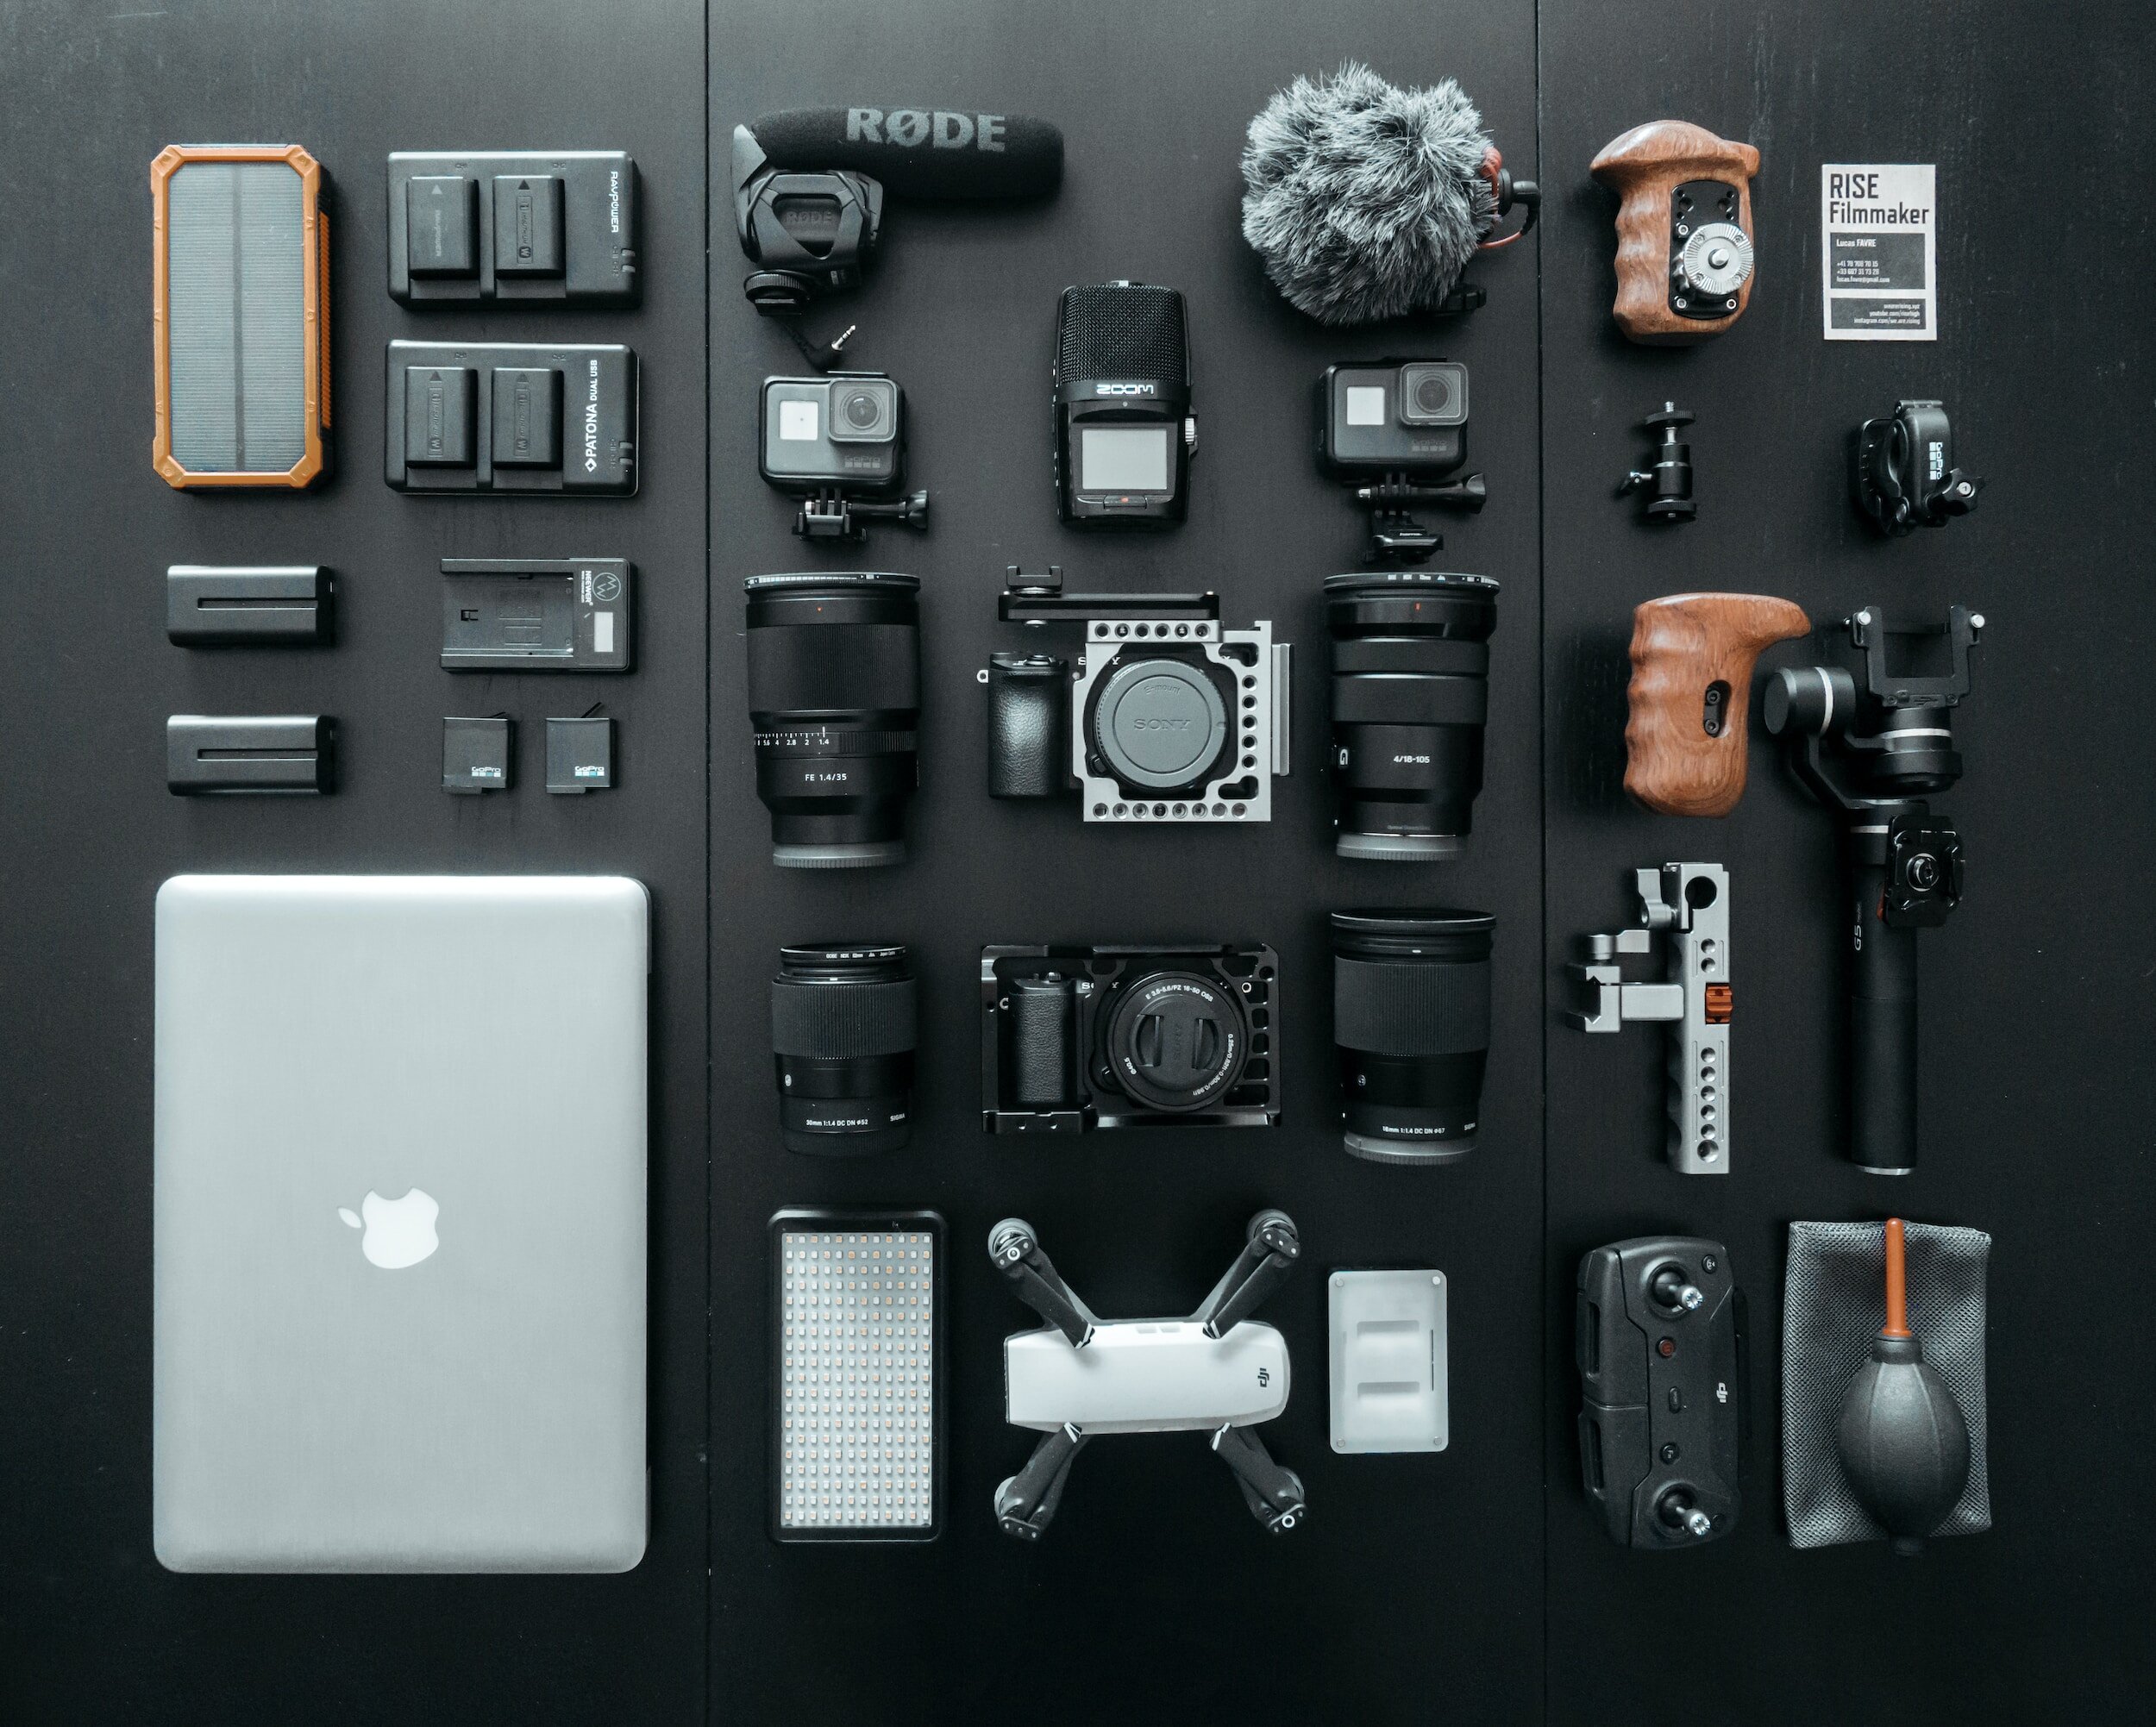
TOP 10 ESSENTIALS
10 Essential Items for creators
I’m one of those people who cant resist capturing amazing images while I travel. It just so happens that there are a lot of people that suffer from this same addiction and maybe just maybe you are one of us. Of course there are other reasons to capture great photos and video. Maybe you’re a content creator, a hobbyist, or aspiring to create a career as a professional photographer. Regardless we all need the tools to get the job done.
Below I’ve created a list of the top 10 items I believe to be essential for capturing those unforgettable moments. Maybe you don’t need them all, or maybe you have them all. If you have a review or an opinion of any of the items on this list feel free to share your thoughts in the comment section of this blog.
I will be leaving a link to all of these items so that you may purchase them if need be. If you have any recommendations be it camera gear or what not feel free to share a link in the comment section below.
1.CAMERA.
This may seem obvious but the vast majority of creatives do not own a professional camera. That being said you don’t necessarily need one to create amazing work. Just make sure whatever you are using is fully operational. I fall under the umbrella of individuals who seek more professional results if that is you then here are my choices to do just that. Understand that I’m aware that everyone has a preference as to what brand they choose. That being said feel free to leave a link to your favorite product from your favorite brand in the comment section.
CANON R5
CANON R6
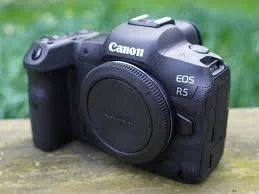
CANON EOS R5
2. CAMERA LENS.
Now if you are using a camera that allows you to change lenses like the options listed above chances are you are going to be needing a lens. Creatively there is no right or wrong choice for lenses however there are some focal lengths that will allow to be more effective when executing certain shots. For example for landscapes wider focal lengths come highly recommended and for portraits I recommend focal links between 35mm to 85mm. Still my favorite lens right now is Canon’s RF 70-200 2.8 L. If you need to find out what focal lengths best suites you I suggest choosing a lens with a wide range and playing with it until you find your sweet spot. Afterwards you can narrow down what focal lengths you use the most using lightroom. That being said here are my recommendations based off of lenses I have used and some that I am currently using. If you are using another brand just focus on the suggested focal lengths.
CANON RF 16-35MM F2.8 L LENS
CANON RF 70-200MM F2.8 L LENS
CANON RF 24-70MM F2.8 LENS
CANON RF 50MM F1.8 LENS
CAN RF 24-105 F4 L LENS

CANON RF 70-200 F2.8 L USM
3. MEMORY CARDS.
SD cards are a must in order to capture images using your choice of camera. Some cameras also use the more expensive CF express cards. you may even be using an action cam which may require the use of micro SD cards. Regardless unless you are using your cell phone you will be using one of these forms of storage to save your images as you capture them. Here is a list of what I am using below.
SANDISK 128GB EXTREME PRO
CF EXPRESS TYPE B 128GB
SANDISK 128GB EXTREME micro SD
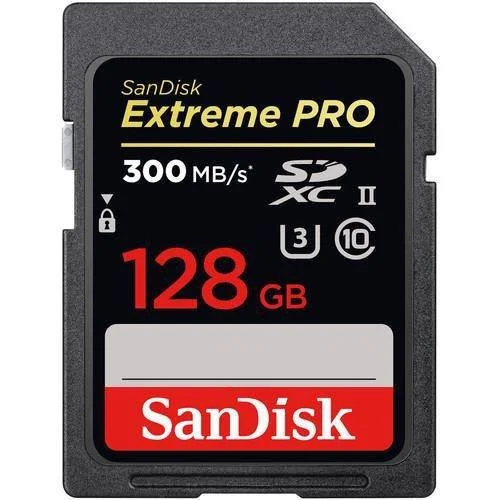
SANDISK 128GB EXTREME PRO
4. TRIPOD.
Now maybe you are alone or maybe you’re trying to capture long exposures be it night or day. Either way a tripod is without a doubt one of the most essential items on this list. It doesn’t matter if you are using a professional camera or your Cell phone everyone can benefit from having one. This particular tool has many afortable options to choose from you wont struggle to find one that you can put to proper use but here’s mine.
Manfrotto Be free Advanced Aluminum Travel Tripod

MANFROTTO TRIPOD
5. EXTERNAL HARD DRIVE.
Now if you are a content creator, a photographer, a cinematographer or anyone that takes there art serious you will may have already purchased an external hard drive. If you haven’t its about time you’ve made this vital investment in your craft. It can not be over emphasized how important it is to back up your work. There are many options to choose from to store your intellectual property and using a brand you feel you can trust is important. Here are 2 of my favorite and most trusted storage options.
LaCie Rugged USB-C 5TB External Hard Drive
SanDisk 2TB Extreme Portable SSD
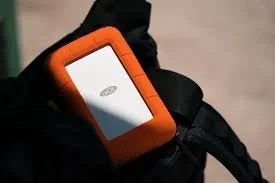
LACIE RUGGED USB-C
6. CAMERA REMOTE.
This is THE item that I never ever leave home without. Often times I find myself in a situation where I don’t have a model to execute my ideas. In such situation I must act as my own subject. Self timer, and interval timer are cool but having a remote allows me to nail my focus every single time. I also like taking long exposures both at night and in the day. For those who do not no moving your camera while taking such shots can ruin your images and that’s where a good remote comes in handy. There are many options to choose from for all brands hell you can even use your phone. Here is the remote I am currently using. I own 4 of these so trust me when I say its reliable.
Canon Wireless Remote Control BR-E1

CANON BR-E1
7. MICROPHONE.
Everyone may not need one of these but if you are a vlogger this tool can help you up your game. people often overlook how important it is to sound good when we’re information bombing people. have nice clean vocals delivered into ones air can often decide if they will continue listening to you or not. I recommend doing your research to fine the proper mic for your job but if you want to know what I suggest for vlogger’s here you go.
Sennheiser Professional MKE 400
Rode VideoMic NTG
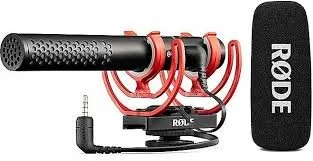
RODE VIDEOMIC NTG
8. LIGHT.
Now I know what some of you are thinking. “I’M A NATURAL LIGHT PHOTOGRAPHER” and that’s fine but guess what, so am I. However many times I’ve found myself in a position where having a little light would change my overall results. Needless to say it doesn’t matter if you use flash, LED’s, or natural lighting. As a photographer you need to understand how light works in order to push yourself beyond your limits. For me I found that having a little LED light allowed me to execute ideas that I couldn’t have done otherwise. I even use the same light to provide me with just enough light while vlogging. Now there are different lights for different jobs and they all allow for different results. As a travel photographer its highly unlikely that Ill ever run around with huge lights like strobes and such at least for my line of work. Besides most of my favorite images of all times were created using natural light. Lets not get carried away though because it has been my personal experience that introducing light to your arsenal will only improve your capabilities as a photographer. That being said here are 2 of the lights that I use. Don’t be deceived by their size for we are only limited by our own creativity.
IVISII G2 Pocket RGB Camera Light
Aputure Amaran MC RGBWW Mini On Camera Video Light
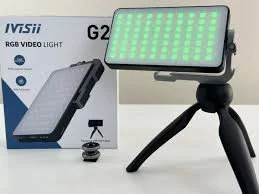
IVISII G2 POCKET RBG CAMERA LIGHT
9. SOFTWARE.
So now that you’ve capture all your images its time to process them. There are many options for editing your work. That being said such a conversation could go on forever. Now personally I’m an adobe user. That doesn’t make it better than other software out there that’s just what I have experience using. Needless to say that’s exactly what I’m going to recommend and with all the new features in apps lightroom and photoshop, I feel completely confident that you’ll have everything you need to take your work to the next level. Use this link and check it out for yourself
ADOBE

ADOBE SOFTWARE
10. CAMERA BAG/CASE.
Lastly but possibly the most essential peace of gear on the list is a camera bag or case. Till this day I still get made fun of for my choice of camera bag well in my case its an actual case. My mane method of transporting all my gear around is a pelican case.Yeah its not the most ideal choice for hiking and other forms of rugged exploration but it is dominant anywhere else allowing me to transport all my gear safely through cities even while it rains. It even doubles as a chair when I’m tired of running around. I’m serious it really comes in handy especially in the airport. For other more practical forms of getting your gear around I recommend any camera bag that protects your kit from water damage and theft. Couple that with good organization and you’ve got one solid camera bag. Here are a few recommendations.
PGYTECH OneMo Lite Camera Backpack
NOMATIC McKinnon Camera Pack
PELICAN AIR 1535
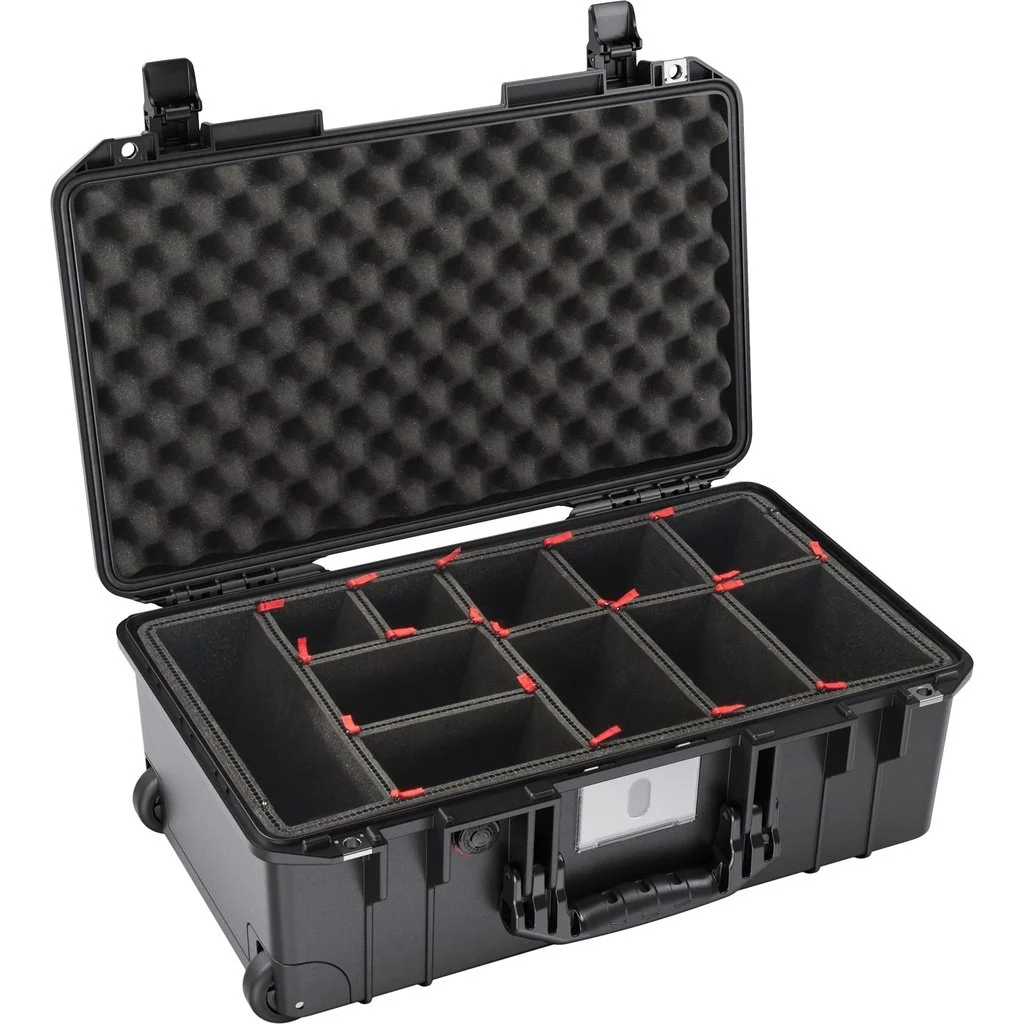
PELICAN AIR 1535
That wraps things up for my “TOP 10 ESSENTIALS” for creatives. If this was helpful please let me know in the comment section and of course if you have any questions or suggestions feel free to share them below. Thanks for reading and I’ll see you next time on The FO&O.
GET THE SHOT
5 Tips for taking photos in crowded places
Do you take your photos seriously? Maybe you’re just a hobbyist or maybe you are you just trying to capture memories on your vacation?
It doesn’t matter if you are a photographer with a client, a content creator, or just on vacation looking to capture some great pictures of family and friends. Everyone loves a good photo. Sometimes it can be hard to achieve this in places that are popular tourist destinations. Not to worry though I got you covered. Here are 5 tips to get the job done. Some you may know and some you may want to try.
1. ANGLE UP.
If you find yourself snapping shots around tall objects like Tokyo Tower for example you may find yourself surrounded by other people trying to do the same. Try angling up to get an epic shot of you and whatever is behind you with an unobstructed view.
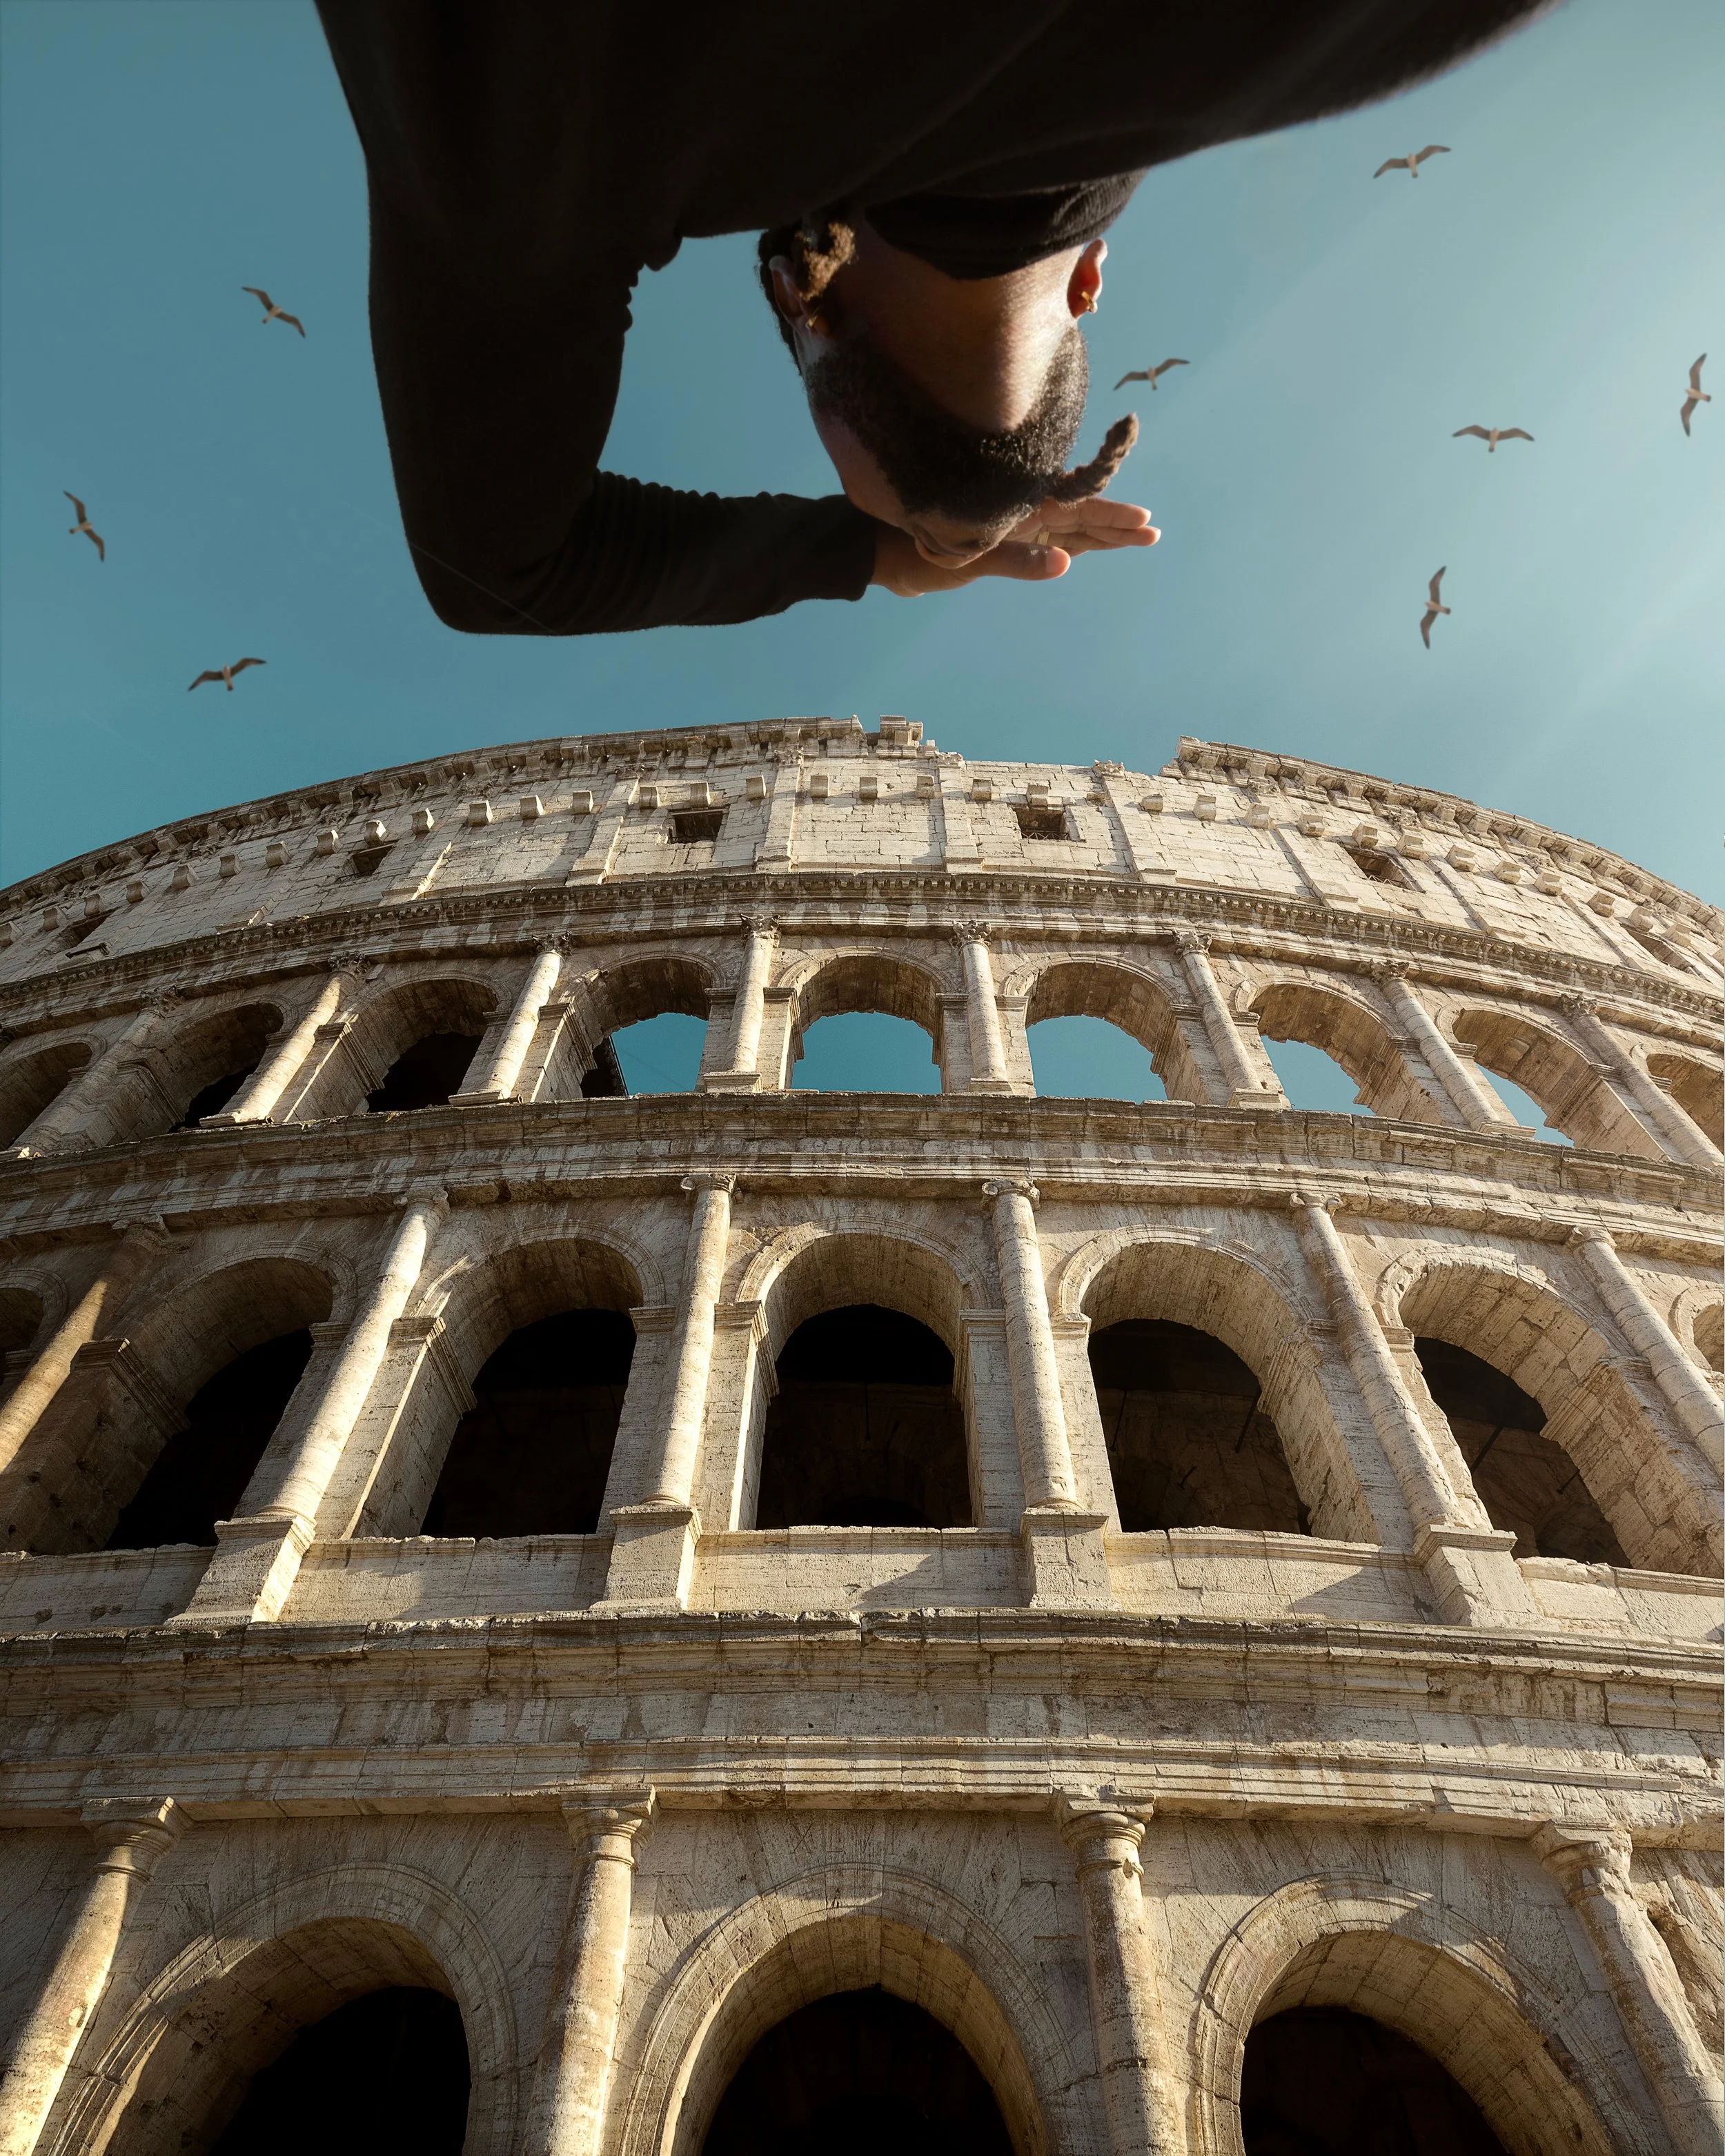
THE SIZE OF IT
An example of angling up to remove unwanted objects in your frame.
2. TRY BLOCKING UNWANTED DISTRACTIONS USING YOUR SURROUNDINGS.
This is one of my favorite techniques. You can accomplish this by finding a tree a building, a car or even a prop like a hat. Use it to block out unwanted distractions. Lean on a tree for example leaving your subject visible while blocking everyone else out with the tree.
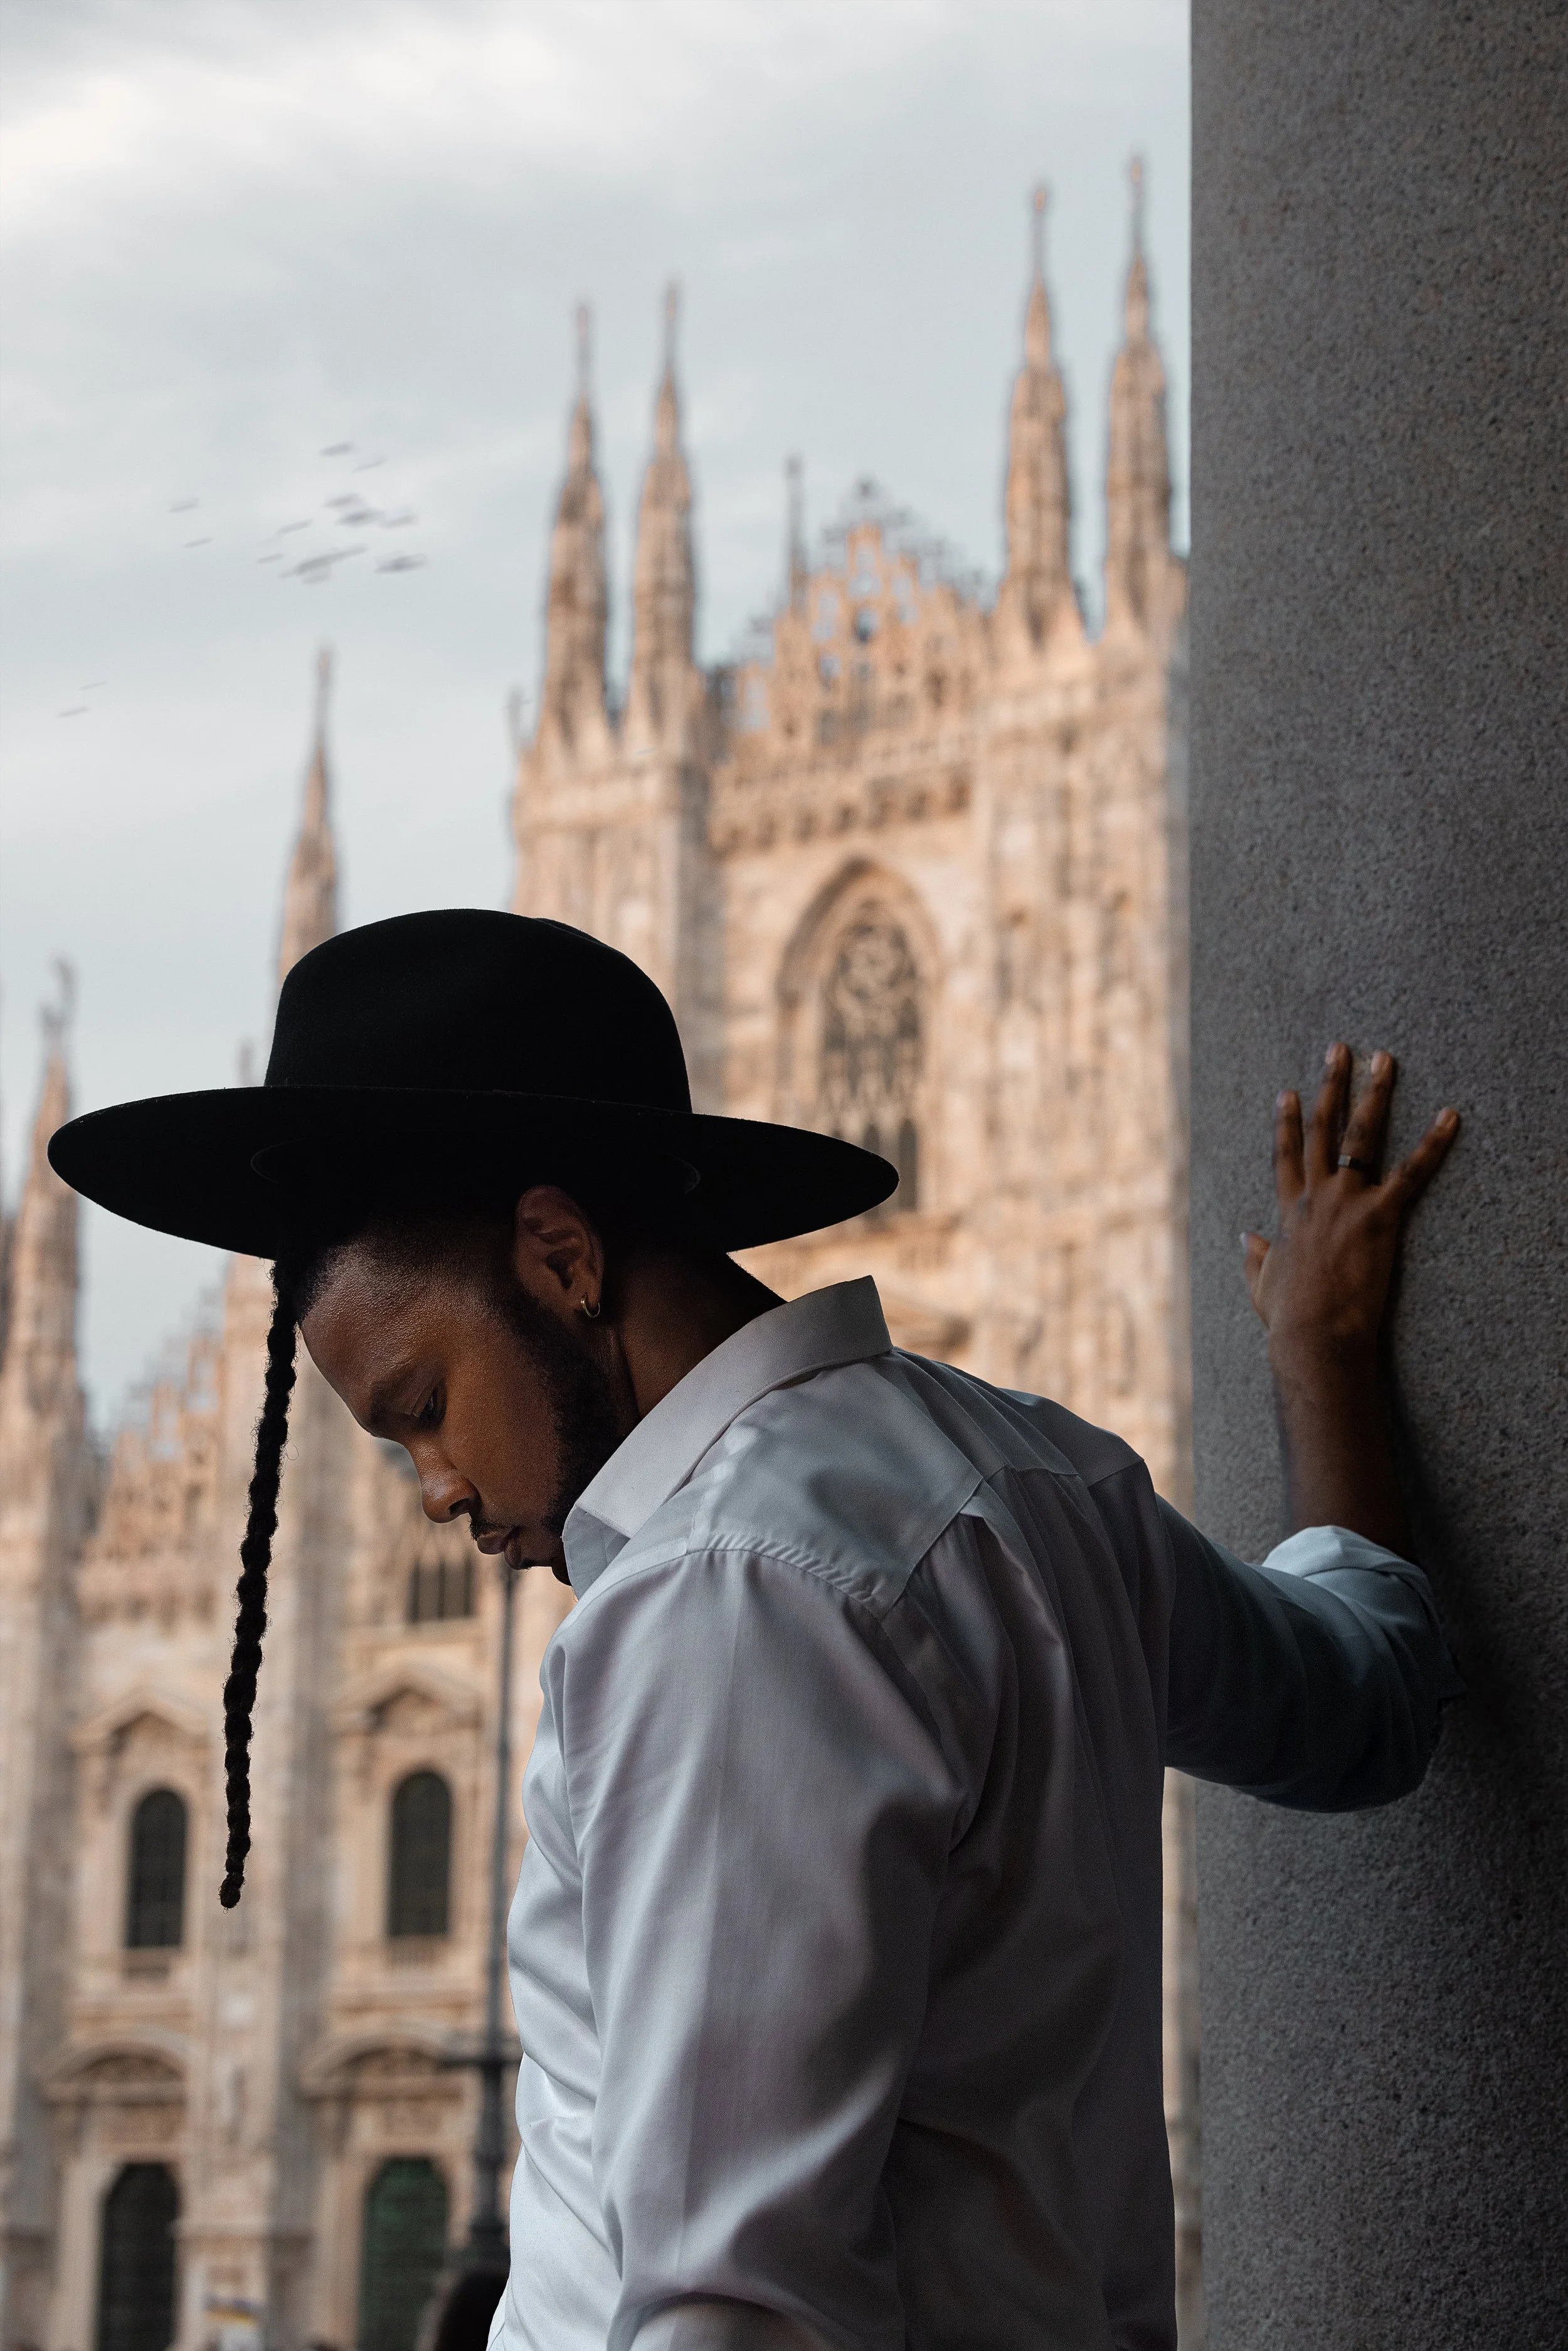
A TRIP TO DUOMO
An example of using your surroundings to block out unwanted distractions in your images.
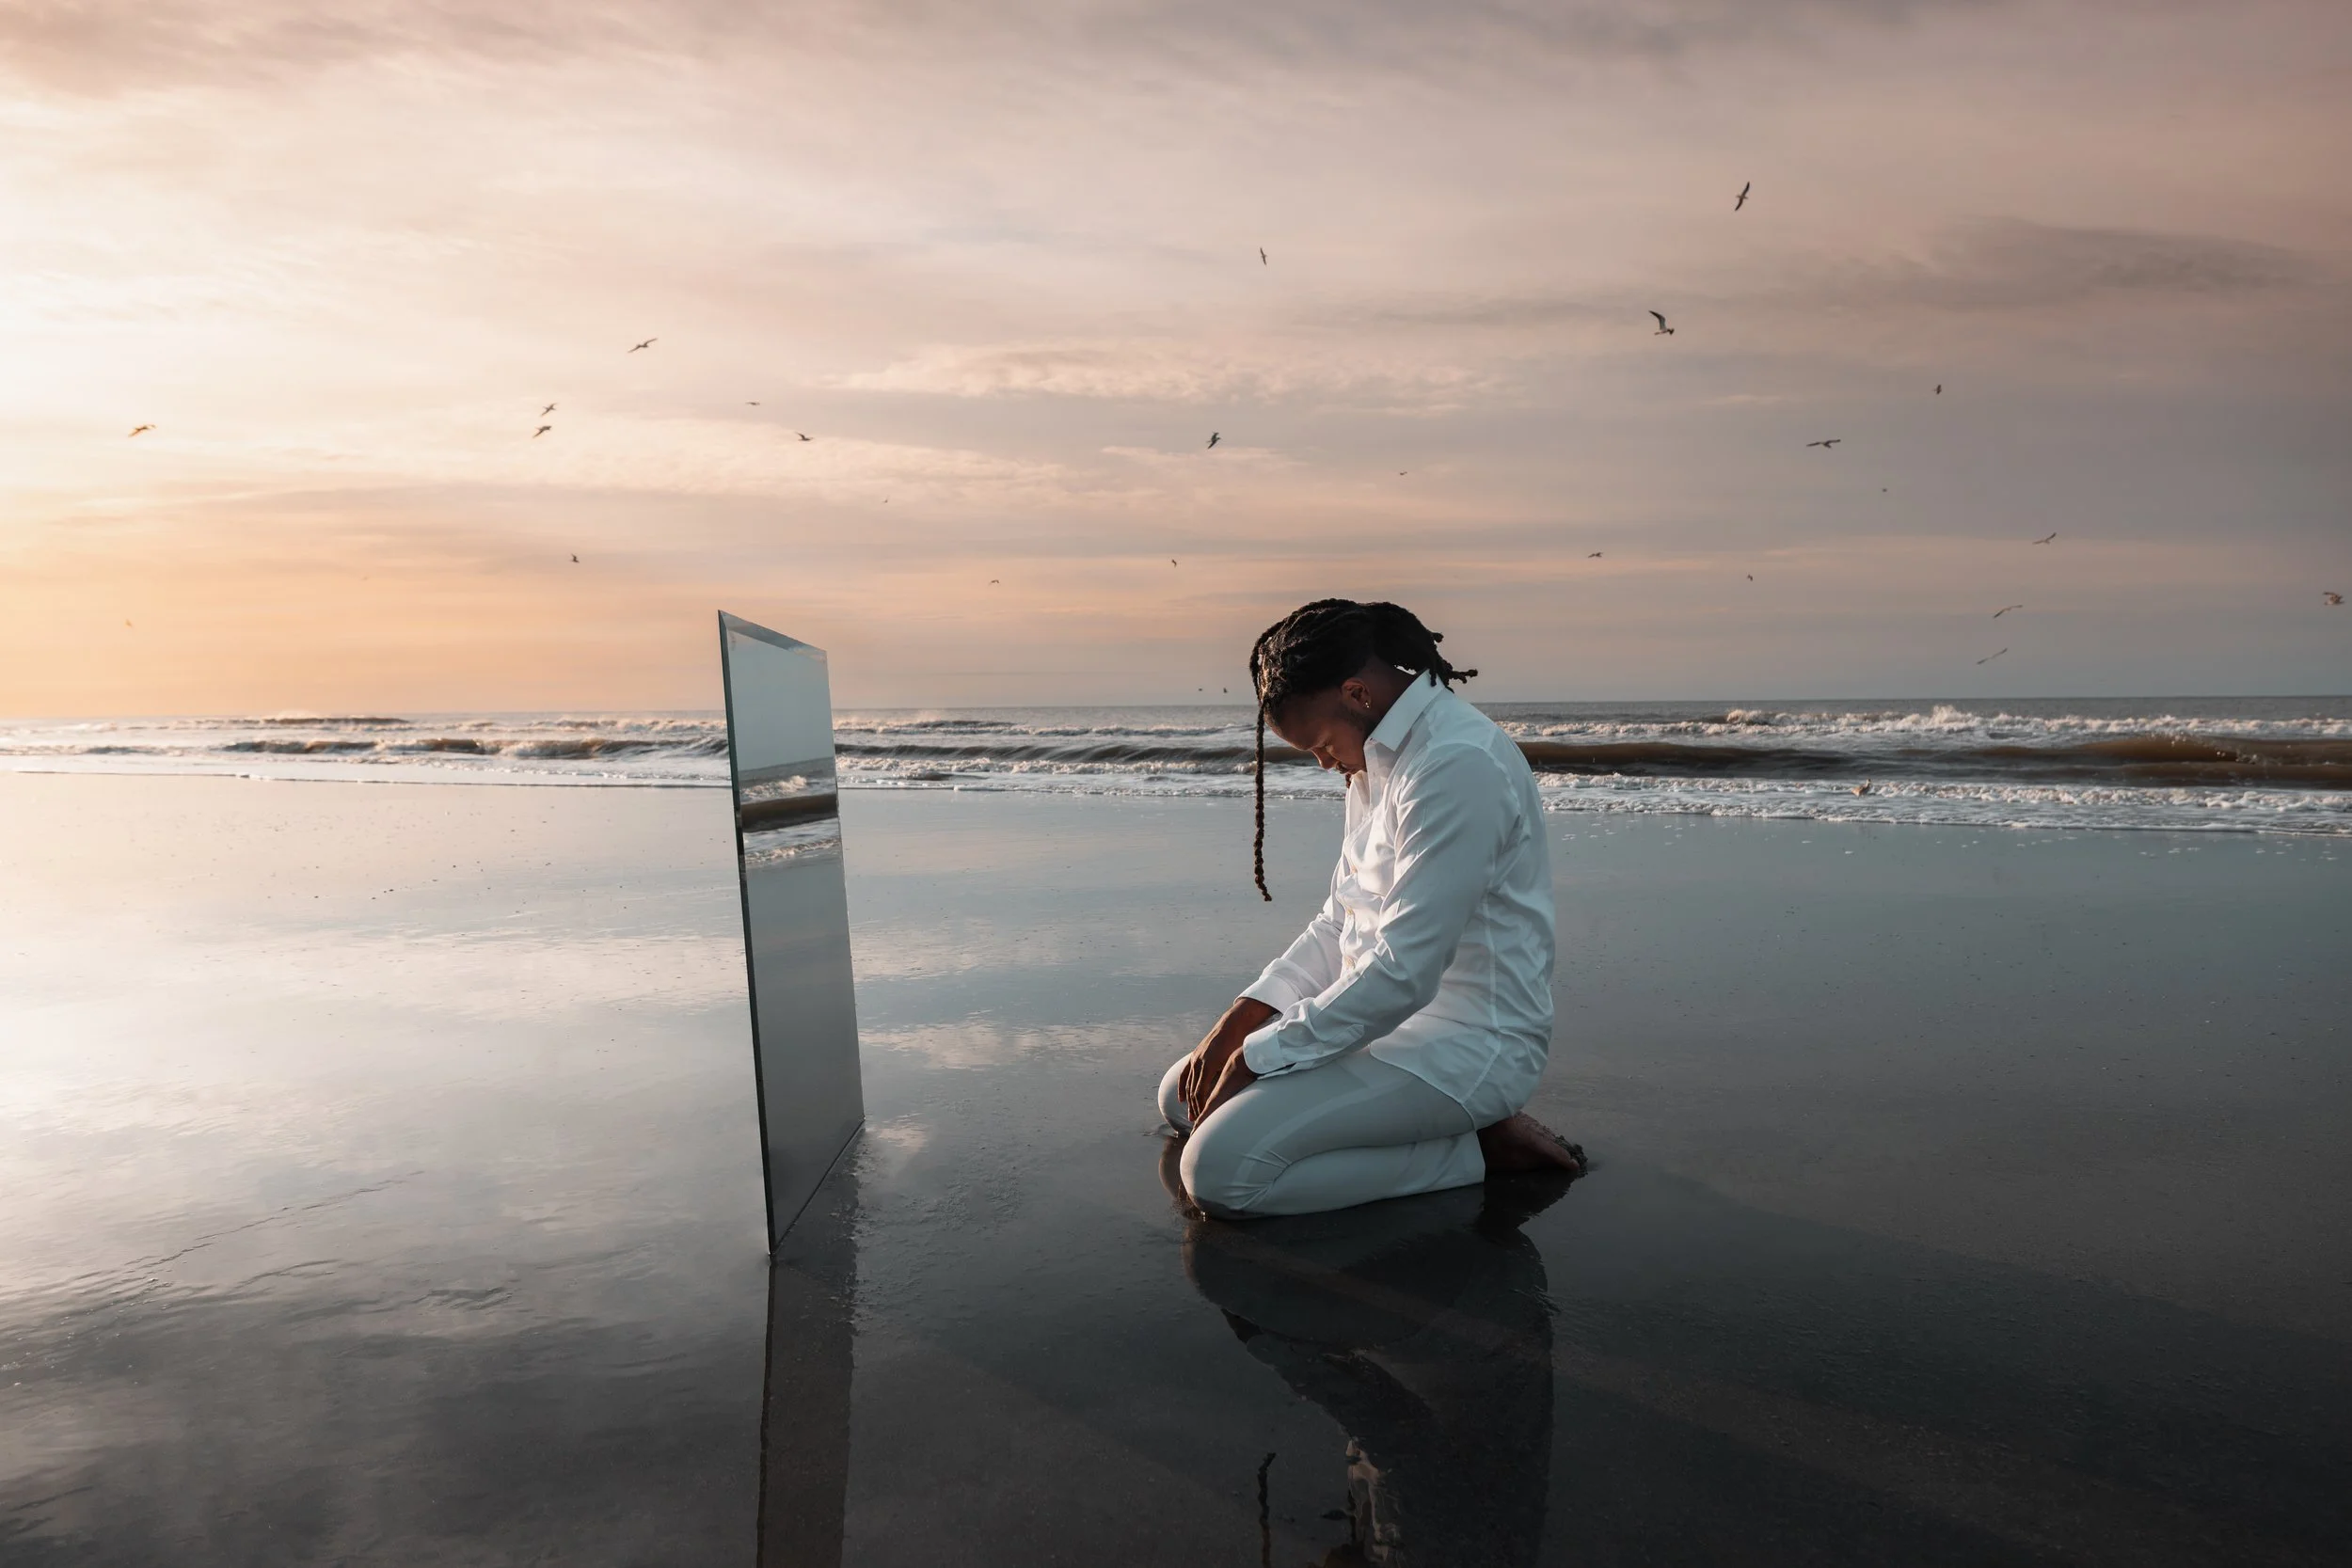
3. EARLY BIRD.
I think everyone knows that getting up early allows you to capture images without unwanted photo bombers. It’s also important to note that sunrise is not always the best time to shoot. In some cases this might lead you to shoot into the sun. For example its better to shoot the Duomo in Milan at sunset when the front is well lit as apposed to sunrise unless this is what you seek creatively.
MOMENT OF REFLECTION
Example of being an early bird and getting the shot before the world wakes up.
4. SHOOT AT LOW SHUTTER SPEEDS.
It’s pretty difficult in the day if you don’t have a ND filter on your camera but almost anyone with a tripod can do it at night. Choose your framing and set up your tripod. Choose a very low shutter speed on your camera or choice. This may very based off your lighting scenario. Once you are in position trigger your shutter using a remote. The results should be you either alone in your image or surrounded by beautiful motion blur from moving objects in your frame .

NIGHTS LIKE THIS
Example of shooting at low shutter speeds. No one was removed from this image. The low shutter speeds create an illusion as though I was alone.
5. OFFER TO TAKE OTHER PEOPLE’S PHOTOS.
We’re all here to do the same thing. Sometimes offering someone help with their photo will lead to you getting that shot you wanted without someone else posing behind you.

LOST IN JORDAN
While taking photos at Wadi Mujib there were many people hiking as well. We offered to photograph then and afterwards they kindly stepped out of our way allowing us to capture this image.
That wraps things up for my “GET THE SHOT” 5 Tips for taking great photos in crowded places. As always if this was helpful let me know down in the comments. Of course if you have any questions or suggestions they are always welcome here at The FO&O. See you next time*